


If you use Instagram, you’ve probably seen posts that end in “Link in the bio.” That’s because Instagram doesn’t allow links in the body of the your posts. And sometimes, you want to share something that goes to a website or other account and a link is what you need. The one place you can have a link, and only one link, is in the bio. So everyone says “Link in the bio” and then puts their link in the bio. Here’s an example of one of our recent Instagram posts, that shares a link to our blog post.
But if you do a lot of these, that can get tedious to constantly be updating that link. Instead, what’s better is to have a designated social media landing page, something that can house all your important links. You may be familiar with a service called Linktree. Linktree is a service that provides a simple and efficient way for users, especially those active on social media, to share multiple links with their audience through a single clickable link. Linktree is great. It does exactly what you need and is easy to use. I’m not discouraging anyone from using it. However, if you have your own website, you don’t necessarily need to use Linktree. You can create your own social media reference page and skip the fees.
How to make your own Link page
First, consider what kind of website you have. Many DIY builders have their own link/reference page template ready and available for use. If you use WordPress, this can be as simple as creating a new page and adding in links and buttons. Here are a few ways I have used to make a link page in WordPress.
Using Gutenberg
If you are a Gutenberg fan, you can easily make a linktree-like page in your WordPress site. First, go to Pages and click Add New to create a new page. Name it whatever you want to name it, but make the URL something simple. For example, mydomain.com/social or mydomain.com/links so you can easily type that URL into your social media profiles.
Next, start adding buttons to your page.
- Add a Button Block:
- Locate the place in your content where you want to add the button.
- Click on the “+” icon to add a new block.
- In the block search bar, type “Button” or scroll down to find the “Button” block.
- Configure the Button Block:
- Once you’ve added the Button block, you’ll see options to configure it in the right sidebar.
- Enter your button text in the “Button text” field.
- Link the Button:
- In the same settings panel, you’ll find the “Link” field where you can add the URL the button should link to. Enter the destination URL here.
- Style the Button (Optional):
- You can customize the appearance of your button by adjusting settings like color, size, and alignment in the block settings.
Then continue to make all the buttons you need for your landing page in a single, vertical row.
You could do this with text links too, but I think the buttons work better. Once you have your buttons in place, go ahead and publish your page and view it to see how it looks. Your page will inherit the settings of your theme, so your buttons and global elements should already be styled to match your website. Go ahead and preview your page, but make sure you do it on a mobile device or adjust your settings for mobile, because that’s where most people will be viewing it.
This is an example of what that page looks like using the default Twenty Twenty-Four theme with no additional styling or changes.
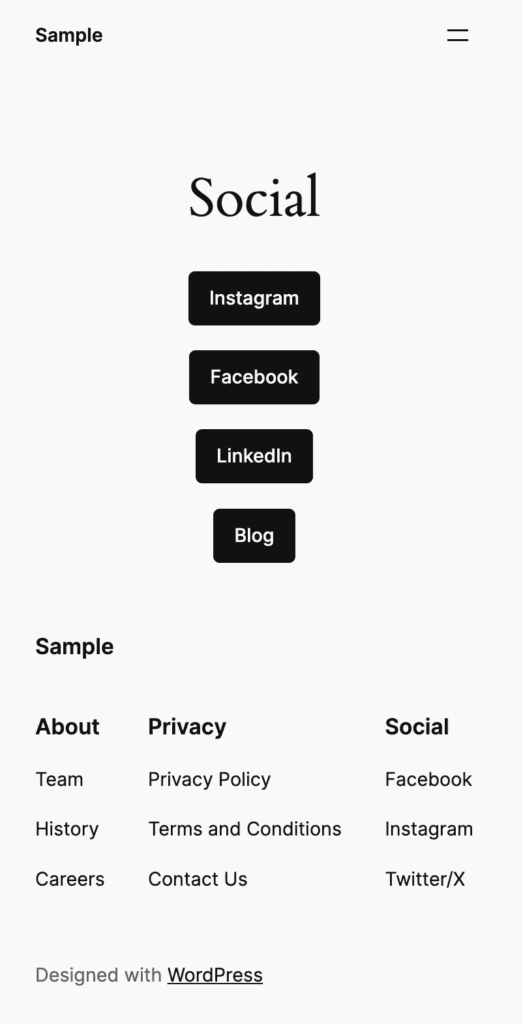
There are a lot of ways you can style this, and a lot of that will depend on your theme and your comfort level when making changes to your website. Many themes offer you the ability to make a landing page with no header and no footer, which I would recommend for your social media landing page. I don’t ever like to say something is “easy” because what’s easy for me is not easy for someone else and what’s easy for someone else may not be easy for me. Different people have different skillsets and experiences.
If you feel confident taking this further, you can remove the title, add an intro or even a little photo, remove the header and footer, and style the page to look really nice and be branded and inline with your businesses styles.
Using your own social media landing page is great because it uses your own URL and you can use your own branding to make it your own.
Using Beaver Builder
As a dedicated fan-girl of Beaver Builder, I will tell you that the easiest way to create a social media landing page is using their page builder.
We’ll start the same way, by adding a new page with a simple page slug and then launching Beaver Builder.
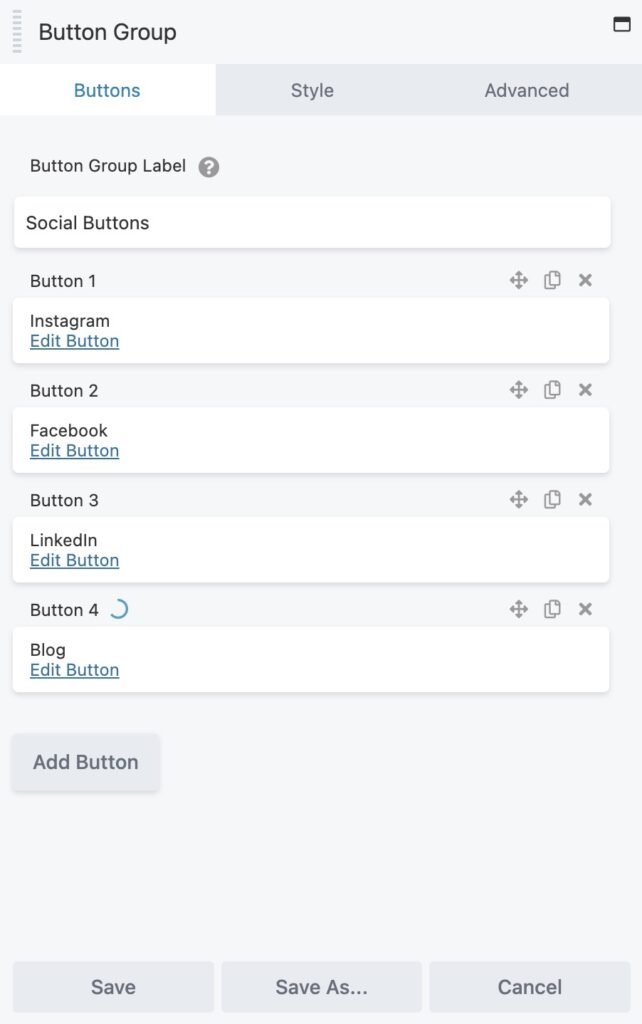
I like to use a module called Button Group that allows me to add all the buttons I want, and then style them all at once, or style them individually. You can change their size, fonts, colors, add icons, etc.
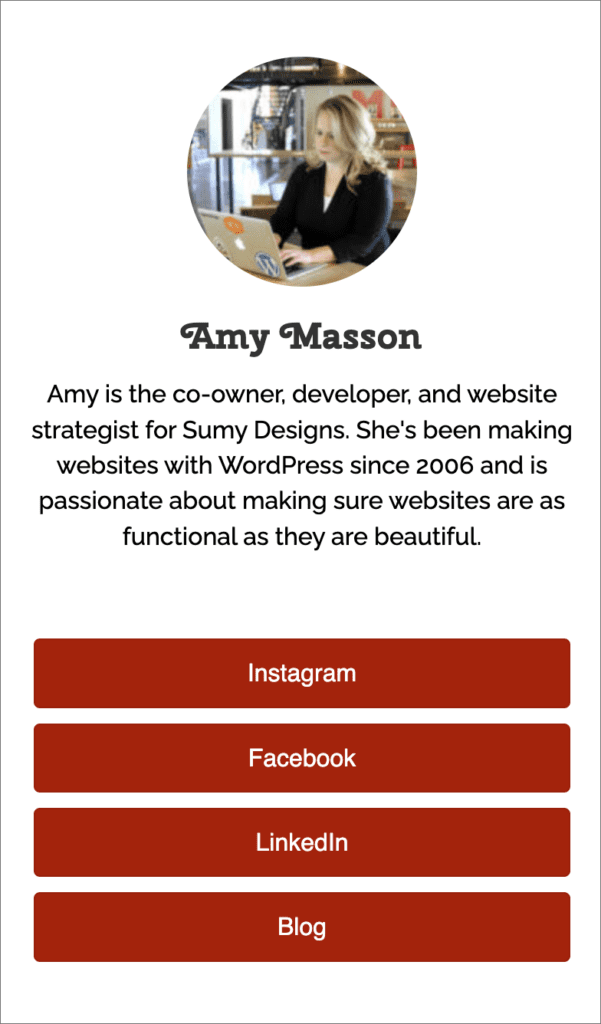
Then you can add an image above that button group with a small photo or logo and a brief bio below it.
Beaver Builder also offers you the option of editing responsively, which basically gives you a drag and drop interface that shows you what your site looks like on mobile, so you can really optimize the heck out of that landing page.
And, like all good themes, Beaver Builder offers you the option, if you are using the theme in addition to the plugin, to turn off the header and footer for this page. With just 15 minutes of work, you can have a nice looking page like this.
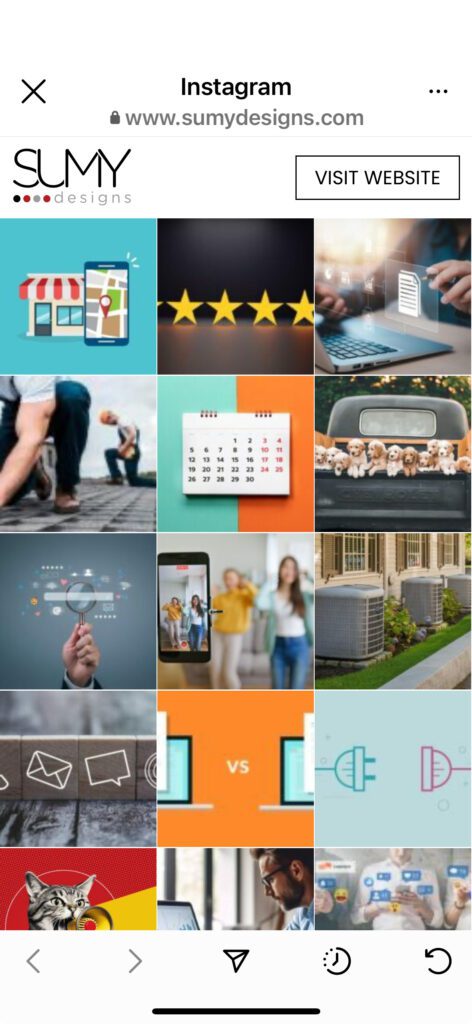
For our actual “Link in the bio” page, you can check it out here. This one is a little different because what we mostly share are our blog posts, and I wanted people to be able to easily find the blog post they were interested in, but I didn’t want to lose links to past blog posts, so you can get to many different blog posts with that one link. Here’s a screenshot of what it looks like when I click on the link in the bio. I’ve added a content grid to show all the most recent blog posts, which updates every time I add a new blog post, and I also added a small logo for branding, and a link to the full website at the top. Easy to use, and does what it needs.
A few tips for your social media landing page
The main thing to keep in mind when creating this social media landing page is that it MUST be super-duper mobile-friendly with easy links or buttons to get your user where they are trying to get. If they clicked to the bio to get to your link, that link should showcase all the different things they might be trying to get to.
The URL should be on your main domain and should be easy to type. I recommend using something like social or insta for your slug, so you might have mydomain.com/social or mydomain.com/insta but not something like mydomain.com/social-media-page
Add branding so the page represents your business aesthetic, whether that’s through colors, fonts, or logos.
Make sure your font sizes are big enough to read on mobile and your links are big enough to click with a finger. Tiny text links are no good here.

Amy Masson
Amy is the co-owner, developer, and website strategist for Sumy Designs. She's been making websites with WordPress since 2006 and is passionate about making sure websites are as functional as they are beautiful.