

Every good website page or post needs to have an image. But not all images are treated equally and I’d like to share some tips on how to be sure you’re adding images using the best possible options and standards.
Image Size
First, I want to address image size. When you take a photo with your phone or camera, or even download a good stock photo, it’s going to be huge. The reason for this is so that you can use the photo in print materials. If you need a Billboard, you can’t download a small 72 dpi image. It needs to be 300 dpi or more and a pretty big size. There’s no way you could make something the size of a billboard with a tiny photo.

Here’s a billboard we designed for Sherry Shipley, candidate for Indiana State Senate.
However, when it comes to the web, these full size images are way too big! These images download sometimes at 10 MB. If you upload a giant photo to your website, it’s going to slow your page load significantly and your user doesn’t want to wait for your photo to load on your website. It only needs to be 72dpi and it should really only be as big as you need it to be. There’s no need for a 3 foot sized photo on your website.
How to Scale Your Photos
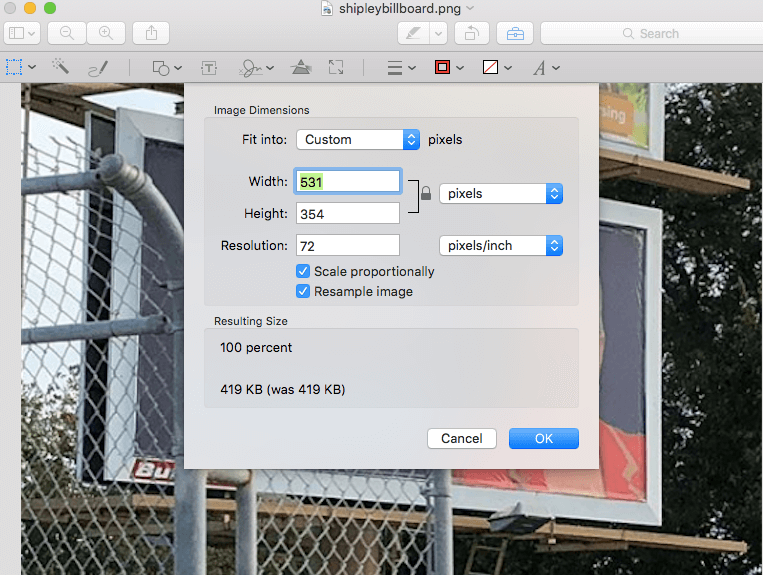
Resizing your photos really depends on what type of computer you use and what kind of software you have access to. We use Photoshop but of course, that’s not a cheap option that everyone has. If you have a Mac, you can easily export your images from Photos just by using the Export tool and choosing a smaller option. Alternately, you can open your photo in Preview and go to Tools->Adjust size and enter your custom dimensions. You only need to enter your height or width and it will automatically adjust the other measurement to fit.
I’m not a Windows user, so I don’t have good tips for scaling in Windows, however, a good option for both Mac and Windows users is Canva. Canva is a web-based graphic design option for users on any platform with plenty of free options for resizing photos.
On the flip side, don’t add images that are too small either. If you upload a 100 pixel image, it’s going to look really tiny and you can’t really make it bigger without it becoming pixelated.

Here is a 100X100 pixel image that I’ve tried to enlarge to 200 pixels. See how grainy and blurry it is? It’s always easier to go down in size than go up. Finding the right middle ground for your photos is really important for having a site that looks great AND performs great.
Image Compression
Even if you resize your images, compressing them is pretty important. What compression does is reduces the file size, even more than you can do by resizing it with your photo editing software. There are plenty of plugins for WordPress that do this, for free and paid. My favorite is TinyPNG, which gives you up to 500 compressions a month for free and in my experience, is one of the easiest and best compression plugins. Not only is there a TinyPNG plugin for WordPress, but you can also use it on their website AND there’s a Photoshop extension. Lots of good coming from these folks.
Stock Photos versus Real Photos
My recommendation is if you can get real photos, use real photos. There is nothing more irritating to me than landing on a dentist website to see fake photos of dental hygienists and their smiling patients. These types of photos are not representative of the experience I might have at that dental office. I want to see real photos of the office, dentists, etc.
Same with fake office photos, photos of people standing around in a meeting, participating in a lecture, or stock photos of people standing in front of their new home. There is a time and a place for stock photos. But if you can get real photos, people will always respond better.
Don’t Steal Images
The Internet is full of images. Google literally has a image search tool where you can search images. However, that absolutely does not make them available for you to use for free. Photos in Google are the same as anything else in Google, they belong to someone else who put them there and unless you get specific permission, you can’t use them. I’ve known plenty of folks who got letters asking for payment for photos they had used on their website that didn’t belong to them.
Want free photos, try out pexels.com or pixabay.com for free stock photos, but understand that you may have to pay for photos if you want really good ones.
Having great photos on your site is important – they do make a difference in how your site looks and appeals to users, but there is definitely a way to do it right and reap the most benefits.

Amy Masson
Amy is the co-owner, developer, and website strategist for Sumy Designs. She's been making websites with WordPress since 2006 and is passionate about making sure websites are as functional as they are beautiful.