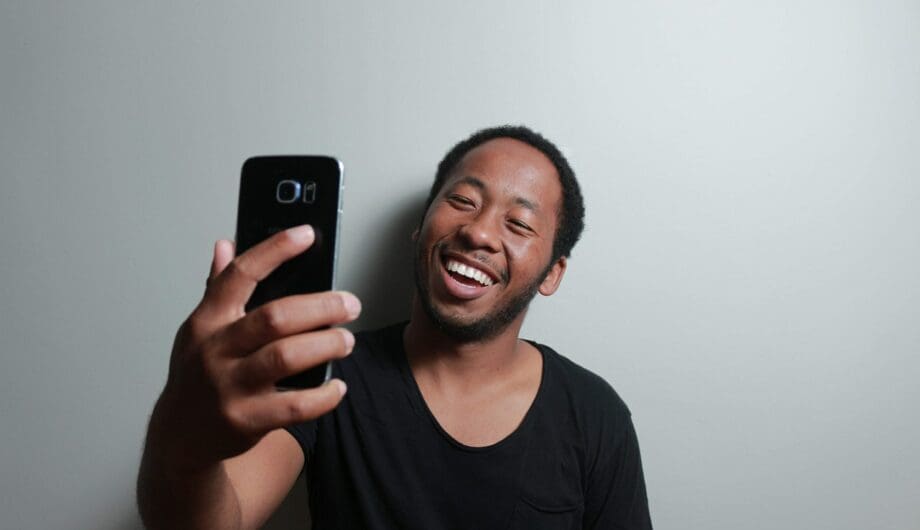
I enjoy taking photos of people, but not many people enjoy getting their photo taken. This is true especially when it’s a head shot for work! This is probably why most of us are afraid to even consider a portrait for our website. Statistically, the 2nd most visited page on a website is the ‘about’ page, after the product or service page. It is becoming more and more important to show your face when trying to attract new business. Small business owners are finally warming up to the fact that their potential customers are interested in the ‘who’ that is behind the product.
Not everyone in business wants to spend, or has the money to spend on a professional photographer. Many would rather take the photo themselves not only because they feel more comfortable, but it’s within their budget.
This brings us to the topic of how to get that great photo of yourself, or at least one that you can live with for your website! Let’s face it, you’ve seen some great portraits, and we’ve all seen some failed attempts.
You may have a photo of yourself that you just love, probably taken when you were off guard and not actually ‘posing’ for it. I bet it’s a good one, yet not entirely appropriate for your business head shot. That photo of you will never be duplicated, but with the right planning, you can come up with another that you can be happy with, I promise! My first word of advice would be to plan out your photo shoot. If you want the outcome to look well done, make a plan.
There are many factors that go into making a nice portrait. Location, lighting, composition, body positioning, facial expression, and some experimenting. Let’s address a few of these factors:
#1 Location
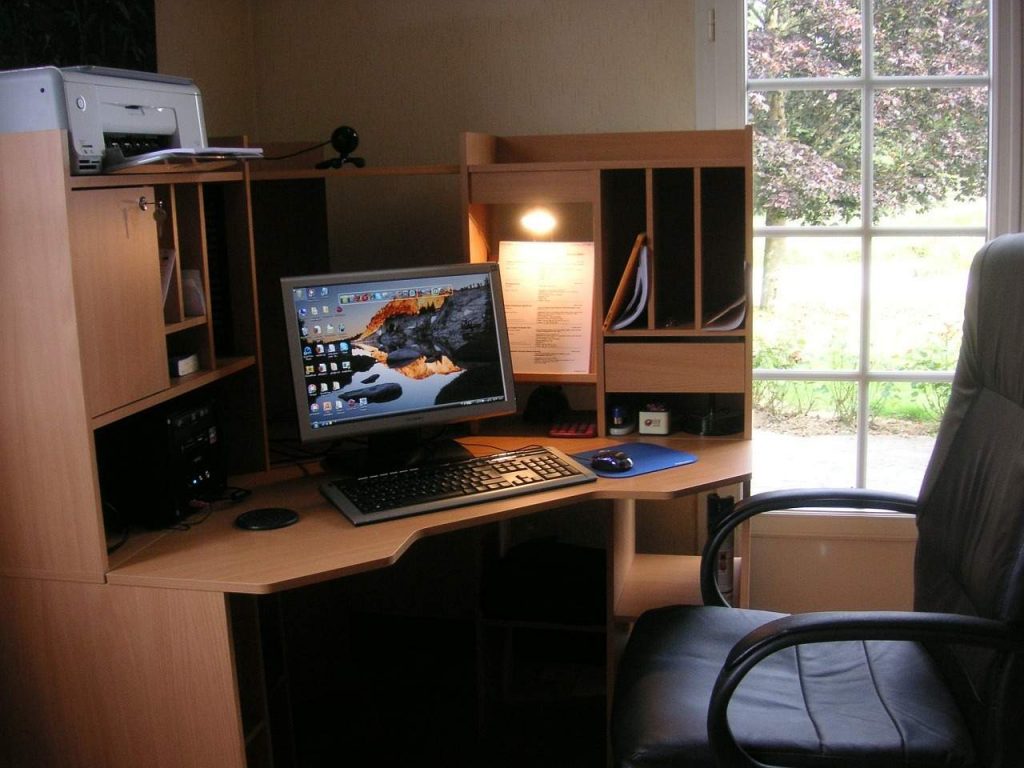
Since we’re going for comfort levels here, let’s make it real. Do you spend most of your time behind your desk or out on location? Consider taking your photo in the place you spend most of your working hours. Chances are you’re pretty comfortable and familiar with that space.

#2 Lighting
To make a photograph with nice lighting, there must be highlights, mid-tones, and shadow. Flat lighting is just that… flat lighting. I personally like bright photos. It is best to take the photo in a well lit place. Doing so tends to diminish skin imperfections and sometimes will diminish wrinkles. Hopefully, the space you have identified for your portrait has some natural light. Window light is best. Take a look around your space at different times of day. Maybe the sunlight hits a wall or bookshelf just right at a certain time of day. That spot could be your background, or possibly your ‘bounced’ light. You may notice a time when the sun hits hard on the wall, but is softer in the space you’re sitting. What you don’t want is a harsh light on your face. You may even take a look at how the light reflects off of that blank wall when the sunlight is hitting it hard. This is called ‘bounced’ light. It is super soft, and is really nice light for lighting your face. Experiment with the right lighting scenario and locations within the space. Take your phone out. Look at yourself, and at the lighting on your face when you are facing each direction in the space. Highlights on your hair make a nice effect.
Hint: If you want to go all out in your make shift photo studio, bring along a white poster board or foam core to bounce light into your face. It all depends on how much you want to get into this! Prop the board up against something in the room at an angle that reflects the natural light. Stand in the reflected light and use the helpful hint below.
Hint: If using an iPhone, hold your finger on the screen where your face is. A sun icon will appear. The exposure compensates for the object you are holding your finger on. You can adjust the exposure by running your finger up and down the sun dial to get the perfect exposure.
#3 Composition
The rule of thirds. When composing a photo, you want the subject to take up 2/3 of the frame. This allows relief in the flow of the subject. Off center yourself just a bit. This composition rule is usually not a factor when a professional takes a headshot. The composition of a ‘selfie’ requires attention to the rule of thirds only because of the way you have to hold the phone in order to take the picture. The distortion made with the lens of the phone when held at a short distance, tends to give a fishbowl effect which is not very flattering. If at all possible, use a selfie stick to adjust for this type of distortion. You can purchase one online for pretty cheap. Find the right angle for you. Hold the phone slightly above eye level, try below eye level, or straight on. I find that when you get a great looking photo of yourself, you can then go ahead and crop into the image to get the perfect composition. It’s rarely done all at once, in the first shot.
#4 Body Position / Facial Expression
It’s best to position your shoulders so that one is closer to the phone than the other. Shoulders that are square to the camera makes most people look wide. You can angle the camera a bit to make a nice composition, but not too much to look goofy. Make sure not to hold your head back too far. This always seems to happen for me. Make a conscious effort to hold your chin slightly down a bit. From here, try different smiles. That’s the thing about it, you can take as many as you need, in order to get the right look. Find your best side. Really, we are not created equal. Angling to your left side may make your nose look big, your right side may not have the best shaped eyebrow. It’s really amazing how changing the angle just slightly can make the world of difference. Experiment with this. Hold the camera with one hand and if using an iPhone without a selfie stick, you can trigger the shutter by pressing the volume buttons.
Here’s an example of my ‘selfie’. Although, I used a cable release on my camera, I believe with a selfie stick, and cropping, the same effect can be accomplished. I used natural light through the window behind me, and a large white board off to the side to bounce light into my face. It took a few shots to get the expression that I was happy with.

It’s not easy getting the best photo of yourself. Sometimes hiring a professional photographer could be less complicated than all that may be involved in a ’selfie’ photo shoot. It’s up to you and your comfort level. Like anything, it takes practice. But, if you’re really set on going it alone, hope these tips help you to create a photo you can be proud of and want to put on your website.
Susan Sullivan
Susan lives in the Dallas/Fort Worth Metroplex area with her husband and children. She is an avid distance runner, environmentalist, part-time beekeeper, chicken farmer and amateur photographer.
